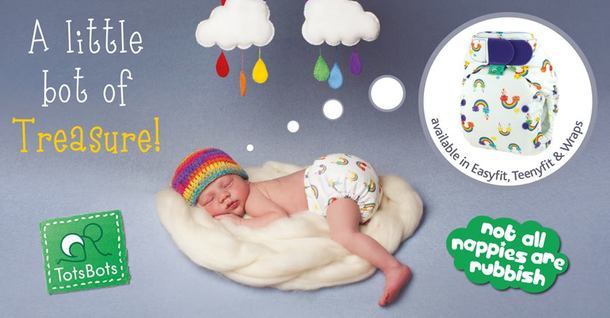
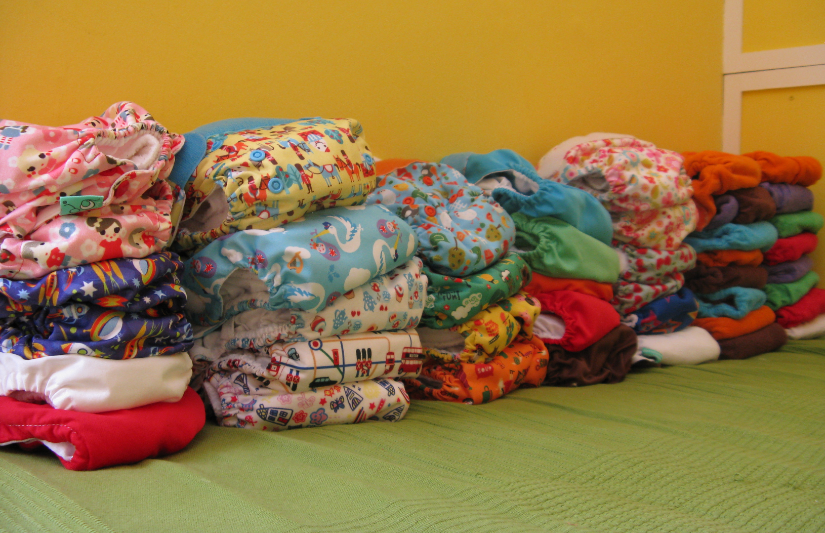
 I always knew that I would be using cloth nappies or at least give them a try - as don't you think they look delicious!! I really liked the idea of soft natural fabric against my babies skin instead of scratchy paper. But I do admit I wasn't particularly looking forward to washing the little buggers... ;) It doesn't have to be daunting though and the best advice I got given was 'just start with one cloth nappy a day!' Well that was an eye opener - it doesn't have to be all or nothing! With that in mind I bought 12 Totsbots Easyfits and I started introducing them when our little girl was around 12 weeks. And yes, one cloth nappy at a time. Soon I found that I really loved using them and within a few weeks I fully switched over. They were so easy to use (just like a normal nappy!) and I really liked the fact that I was saving nappies from ending up in landfill. I am a really big fan of Totsbots Easyfit nappies and here is why: The latest Easyfit has an all-new unique layered fabric, Binky. It features an awesomely absorbent Bamboo & Cotton blend on the upper side which is nice and natural next to Bubba’s skin. The supersoft, fast-drying Minky is tucked away on the lower side, and does a very good job of storing away all the wetness. The Easyfit is a very trim fitting cloth nappy that is very easy to use, especially when you are out and about. They are the ultimate in convenience and dry quickly. Ones size fits all so no need to buy different sizes (they adjust with poppers). And as for washing the nappies? I started using a one way liner. It protects your babies bottom by keeping it dry and it will protect your nappy from staining especially from the dreaded bright yellow breastfed poo! It also makes getting rid of poo easier, not to be underestimated ;). I used to rinse my nappies, spin them in the washing machine and then wash them all together at the end of the day. Once you get the hang of it, it's very easy. And if you keep in mind that you don't have to use them all the time, every day, it really takes the pressure off! All in all I cannot recommend the Easyfits highly enough and I really enjoyed using them. Because it's cloth nappy week this week you can now snap them up for only a fraction of the normal price! Visit www.nappydays.co.nz for amazing discounts!!
0 Comments
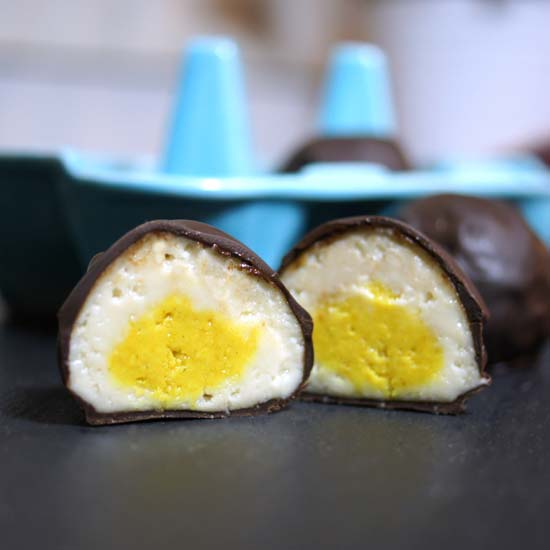
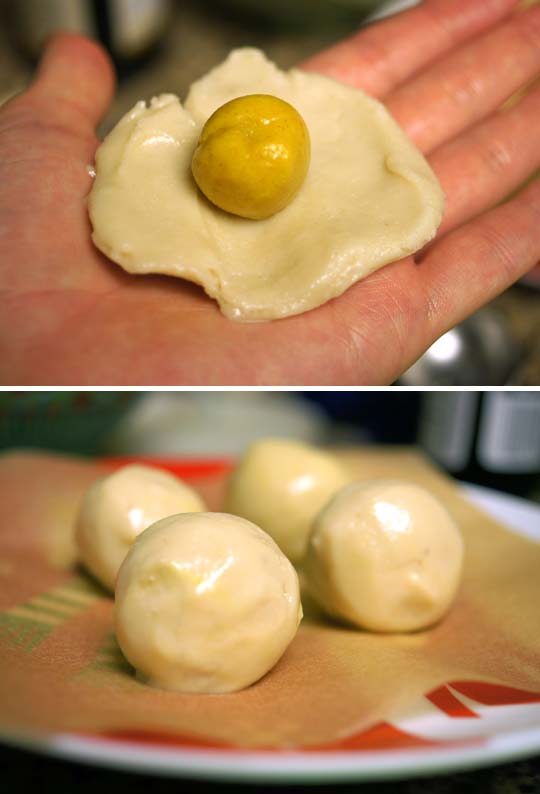
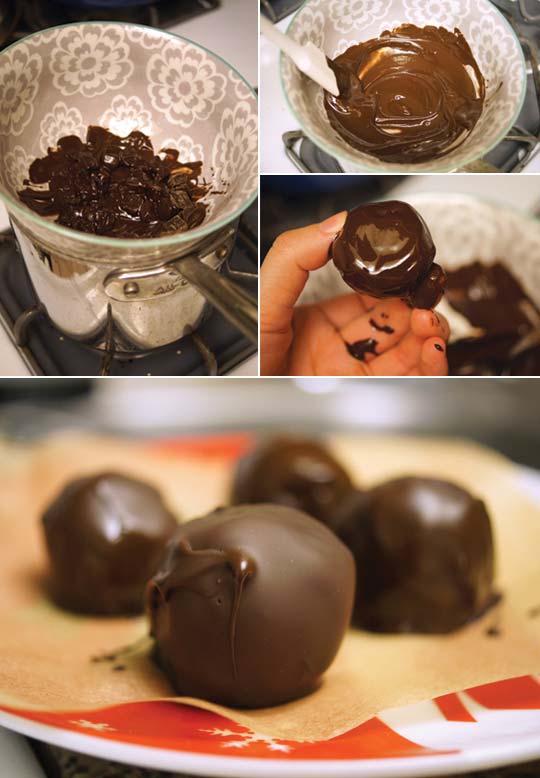
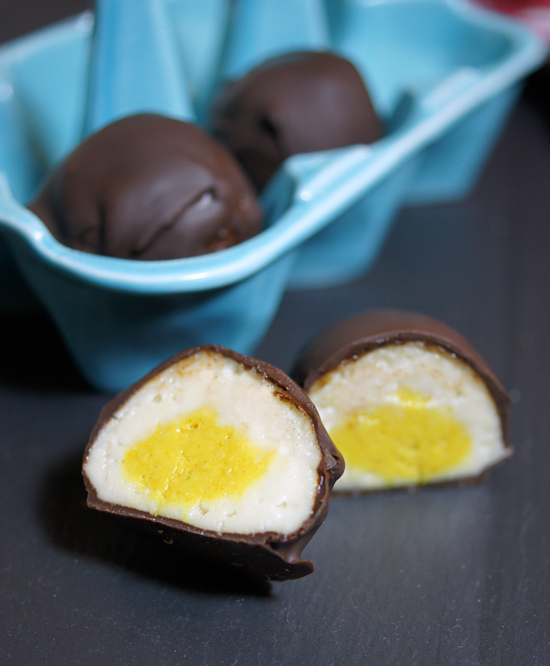
One of my favourite blogs 'Detoxinista.com' posted this recipe and it's delicious and super easy to make!! In fact, this all-natural version calls for just a few ingredients and can be whipped up in a matter of minutes! The filling is a simple mix of coconut butter, raw cashew butter, and maple syrup (or honey, if you prefer), with a touch of turmeric to create the signature yellow-colored centers. Covered in melted dark chocolate, these eggs can be served at room temperature for an authentic copy-cat, complete with a soft and fondant-like filling. Best of all, these eggs can be easily customized to suit your taste. The following recipe isn’t as shockingly sweet as the store-bought variety, but since there’s no baking involved, you can taste-test the filling along the way and adjust the sweetness as you see fit. These chocolate-covered “eggs” are practically fool-proof! -- Healthy 'Cadbury Crème' Eggs Makes 8 pieces Ingredients: 1/4 cup coconut butter (homemade or store-bought), at room temperature 1/4 cup raw cashew butter 2 tablespoons pure maple syrup (or honey) 1/4 teaspoon turmeric 1 cup 70% or darker chocolate chips Directions: Combine the coconut butter, raw cashew butter, and maple syrup in a bowl and stir well to combine. Scoop two tablespoons of that mixture into a separate bowl and add in the 1/4 teaspoon of turmeric. Stir well to mix, creating the yellow “yolk” filling. Place both bowls in the fridge to chill for 10 minutes, or until the mixture is solid enough to be shaped with your hands. (If you chill the mixture too long it may become too firm to work with– in that case, just place it on the counter until it starts to come to room temperature again.) To create the egg filling, scoop 1 tablespoon of the white filling into the palm of your hand, roll it between your hands to create a ball, and then press it into a flat circle. Scoop 1/2 teaspoon of the yellow filling and place it in the centre of the white filling, as pictured below. Wrap the white filling around the yellow filling, and roll it into a ball again, as pictured above. Repeat with the rest of the mixture, creating about 8 small “eggs.” Place in the freezer to set until firm. To complete the eggs, melt the dark chocolate chips in a double-boiler over the stove and use a spoon or spatula to coat each frozen egg. (The coating should solidify pretty quickly, thanks to the chilled filling.) Depending on your preferences, feel free to add a second coating of dark chocolate for a thicker chocolate shell. These eggs can be stored at room temperature for several hours, but if you don’t plan on serving them until the next day, I’d recommend keeping them in the fridge overnight so they don’t spoil. Enjoy chilled or at room temperature!
Happy Easter x x |
Author
Kim is the owner of SNUGBAGS - Merino for Kids. Together with her partner James and their little girl Neeva Rose, she lives in a little beach town called Piha on the West Coast in New Zealand. They love surfing, building sandcastles and all things natural and organic. Categories
All
Archives
October 2021
|
|
Online shopping with us
> Shipping > Guarantee & Returns > Product Videos > SNUGBAG selector tool > Privacy policy > Farm to SNUGBAGS |
Our Products
> Our Merino > Our Organic Cotton > FAQ > Washing & Care > Pediatrician Endorsed > Intellectual Property |
Customer Service
NZ: 0272 761175 Int: +64 272 761175 [email protected] > Contact Us > Our Journal > Become a VIP! |
© copyright 2022 SNUGBAGS
 RSS Feed
